
Provided by
Sod Solutions
-
 Provided by Sod Solutions
With winter months ahead, it is important to consider taking time and preventative care for your gas-powered lawn mower at either the end of the mowing season or at the start of spring. Doing this will improve the lawn mower’s overall lifespan and performance, in turn saving you time and money come springtime. There are seven necessary steps to winterizing your lawn mower that will ensure a smoother mowing process for you and your lawn.
1. Empty the Gas Tank
Leaving unused gas in your lawn mower all winter long makes the gas stale, which in turn gums up the carburetor and potentially allows for the possibility of things rusting. If this is the case, do not panic. Simply add some fuel stabilizer to the tank, then run the mower to distribute it through the system. Turn the mower off and allow the engine to cool then empty the excess gas into a clean can. Restart the mower and let it run until the engine stops. Continue to repeat this process until the mower no longer starts, indicating fuel lines are empty.
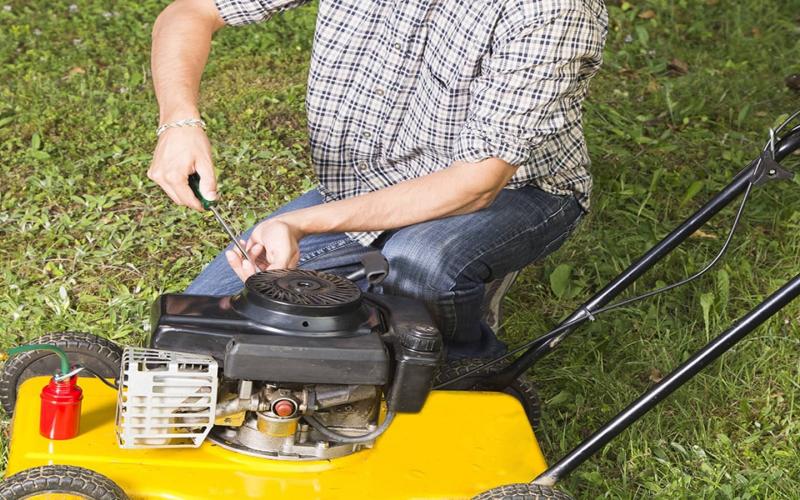
2. Disconnect the Spark Plug
Some lawn mower maintenance advice suggests that homeowners should remove and sharpen the lawn mower blades next. It is important to note that you should disconnect the spark plug first, preventing the lawn mower from accidentally kick-starting and potentially leading to serious injury.
Regardless, a dirty spark plug, or one that is coming loose, will ensure your mower performs inefficiently. It will waste fuel, run choppy, be difficult to start and will likely chew up rather than smoothly cut your lawn. Worse still, a mower with a burned-out spark plug won’t even start. Follow the proper protocol to clean your spark plug after carefully disconnecting it. If the engine doesn’t start after that cleaning, it’s time for a new spark plug. That’s not a bad call, considering the affordability of a new spark plug. (One heads up…if your old spark plug is covered, in part, by a white oily substance, you may have a fuel leak.)
To disconnect the spark plug, use a spark plug socket. Be sure to clean around the spark plug to remove any debris that may have fallen into the hole once the spark plug is removed. You do not have to replace your spark plug with a new one every year. However, it only takes about two minutes and costs a few bucks, plus it ensures you have a good spark when starting your lawn mower.
3. Remove & Sharpen the Blade
Now that we have removed the spark plug, it is safe to remove the lawn mower blade and sharpen it. A sharpened blade reaps benefits for your lawn as it not only cuts grass cleanly so your lawn can recover quickly, but it also reduces the time and effort spent mowing your lawn. It certainly can’t be taken for granted. The blade needs to be sharpened every year.
To remove the blade, you will need to loosen the single nut or bolt holding the blade on. These bolts are usually very tight, so use a breaker-bar or long handle wrench with a socket to match the bolt. This will also keep your knuckles at a greater distance from the blade as you bear down on it. If your bolts are really stuck or rusted, apply penetrating oil, and wait 10 minutes for it to soak in.
Now that the blade is removed, make the decision to sharpen or replace it. If you decide to sharpen it, use a 10-inch-long mill bastard hand file. Mower blades are made of a soft steel, so 50 clean strokes should do it. Always sharpen from the top side of the cutting edge as it will give you a longer lasting edge on the blade. Do not reinstall your blade until after you’ve had a chance to clean the undercarriage of your mower in step five. To read more about how to sharpen your lawn mower blade, click here.
4. Drain the Oil
An oil change is a must to protect the engine of your mower. It is first necessary to determine if your lawn mower has a 4-cycle or 2-cycle engine. Oil is mixed with the gas if your mower has a 2-cycle engine. If your mower has a 4-cycle engine, you will need to change the oil. Your owner’s guide will help you find the right replacement oil and assist you with the process. Anticipate oil spattering, so have a tarp and pan ready to catch oil and keep things from getting too messy. Set your mower on its side with the air filter and carburetor facing up so that oil and gas residual don’t spill into them. Next, remove the oil reservoir plug and slowly tilt the mower until oil drains into the pan. Do not fill your oil tank with fresh oil until after you’ve cleaned the undercarriage of your lawn mower in the next step.
5. Clean the Undercarriage
A dirty deck is a major problem that can easily result in both corrosion and inferior cutting. Cleaning the undercarriage of your mower keeps it from rusting, clears the discharge chute passageway and allows the deck to work the way it was designed, making your lawn mowing routine easier. Use a putty knife and wire brush to scrape off grass and mud on the mower deck. After you’ve completed this step, you may replace the sharpened or new lawn mower blade and add a SAE 30 or 30-weight oil. Recycle used oil at a service station.
6. Change the Air Filter
It is likely your mower’s air filter is inhibiting peak performance. The best approach is to change the mower’s air filter before cutting your first blade of grass in the spring. The next step is changing the air filter on your lawn mower. This allows your engine to burn gas efficiently and doesn’t restrict air needed for combustion. Determine if your mower has a paper filter or an oil-soaked sponge filter. If it has a paper filter, replace it with a new one, paper edges facing out. If it has an oil-soaked sponge filter, you will first need to remove it, wash it out with soap and water, let it completely dry out and then apply a small amount of clean oil to it before putting it back in the mower. It is a good idea to clean the dirt and debris off of the mower’s cooling funs using a screwdriver or popsicle stick in this step.
7. Replace the Spark Plug
Finally, replace the spark plug on your lawn mower. Again, using a new spark plug is only a few dollars and will ensure a smoother start for your mower. This is the last step you will need to complete for winterizing your lawn mower.
These are the seven necessary steps in winterizing your lawn mower and ensuring a smooth spring mowing start-up. Fortunately, this winterizing process also works on other gas-powered tools you use on your lawn. Completing these seven steps may seem hectic, but it is guaranteed to save your engines and cause less frustration during summer months spent pushing a lawn mower. If you are not into doing this maintenance at home yourself, we suggest beating the seasonal rush of getting your mower to a repair shop for a professional tune-up now. These tune-ups usually consist of a basic inspection of the engine and housing, lubricating all of the moving parts and ensuring overall mower functionality. However, you should note that purchasing oil, an air filter and spark plug for a total of $30 is actually cheaper that having it professionally worked on for a cost of $50–$100. The costs of doing these repairs yourself are minimal compared to repair costs if a neglected mower breaks.